Last month I set up my own Telegram bot for GitHub event notification. To receive GitHub events via webhook, a receiver is needed. True, it isn’t hard to write a Flask or Sinatra server and throw the whole thing onto a VPS, but thinking about the complexity and maintenance efforts, serverless platforms like AWS Lambda smells like a better fit. So I decided to take this opportunity to begin my exploration to “the serverless industry”.
There’s a Chinese version of this article / 本文还有中文版
Setting up AWS Lambda
I have had an AWS account for years, so I’ll skip the sign-up process in this article and head straight to AWS Management Console.
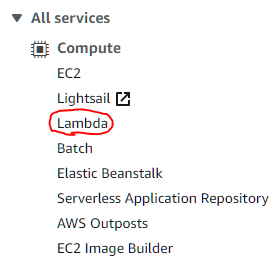
Locate the Lambda entry in the list of AWS services. It’s in the first group so should be easy to spot.
And then we create a new Lambda function, selecting Python 3.8 as the runtime environment
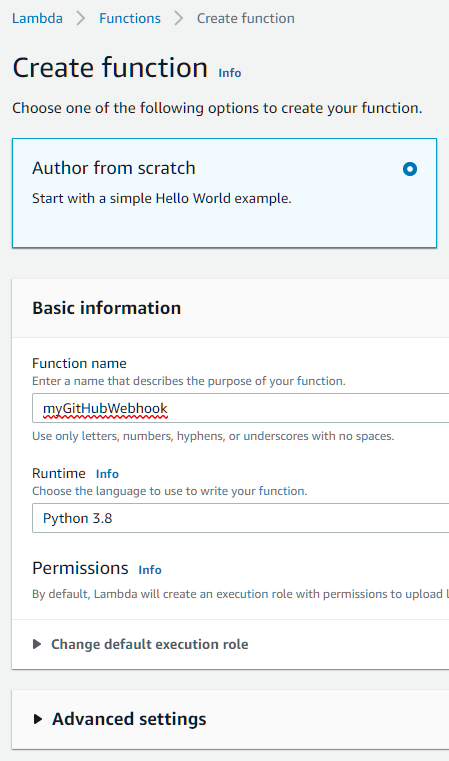
After clicking “Create”, you’ll be brought to the edit page of that function, with the following code filled in as a starting point.
import json

def lambda_handler(event, context):
    # TODO implement
    return {
        'statusCode': 200,
        'body': json.dumps('Hello from Lambda!')
    }
We don’t know what this code can do for now, so let’s put it aside and turn to the API Gateway part, since eventually we’ll use it as the webhook receiver endpoint.
Setting up AWS API Gateway
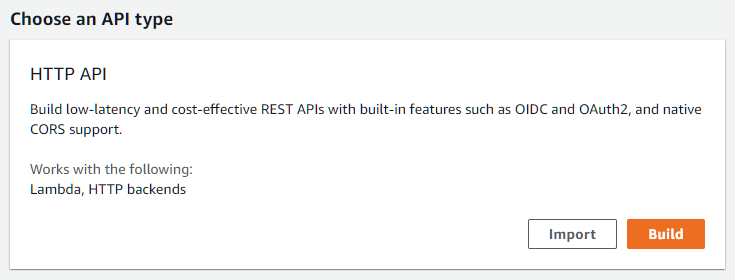
Open the AWS API Gateway console and click Create API on the top right.
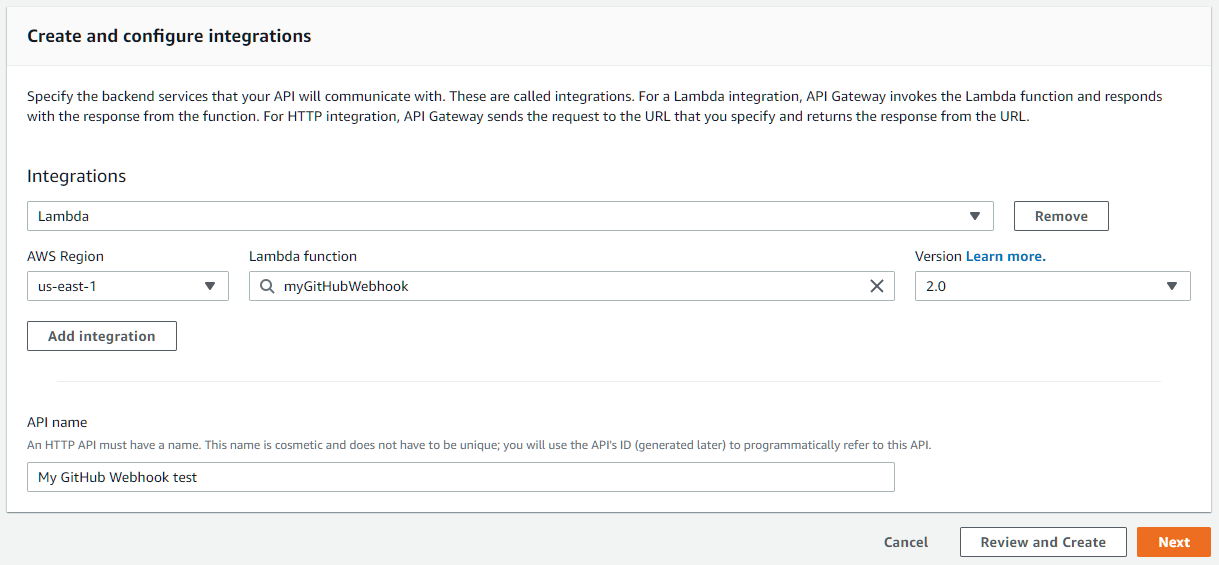
On the next screen, we add our Lambda function created earlier as an integration here.
Then it turns to Routes. Routes describe how HTTP endpoints are mapped to integrations (receivers). An example (default) route is pre-filled in the dialog.
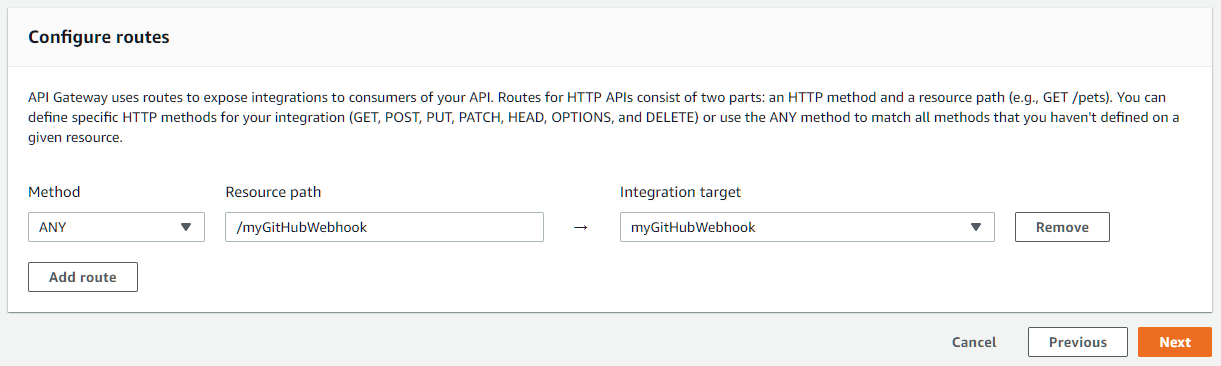
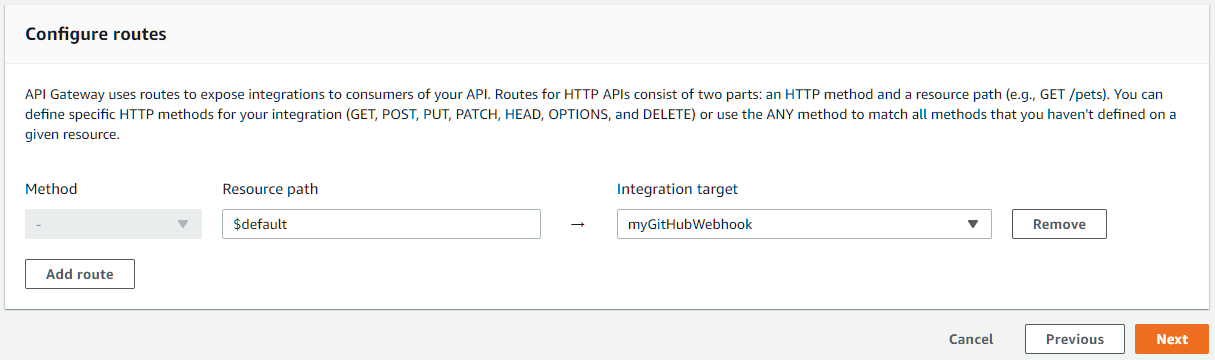
Since we have our Lambda function as the only integration here, we want to process actual routes by ourselves. Delete that path /myGitHubWebhook and enter $default into that box. $default is a special value that once entered, the “method” dropdown greys out.
We can now visit our API to see if it works.
ubuntu@iBug-Server:~ $ curl https://nad73szpz7.execute-api.us-east-1.amazonaws.com/
"Hello from Lambda!"
ubuntu@iBug-Server:~ $
Update 2022
As of April 2022, Lambda meets Function URLs that act as a direct endpoint to the function. You can use it to replace the API Gateway part.
Benefits of using Function URLs include:
- Zero setup, instant access possible
- Zero extra cost (invocation is free, compared to API Gateway’s $1 per million requests)
However, there are more advanced usages only possible with API Gateway, such as:
- Custom domain names (though you can put CloudFront in front of the Function URL to achieve the same effect)
- In particular, multiple APIs under the same domain
- API keys and access control
- Throttling
Special thanks to user xxgj for pointing this out in the comments.
Coding for Lambda
With the infrastructure set up, we should now write our code for the GitHub webhook receiver.
We need to first know how the client request is passed to our Lambda function. This is not hard to figure out with some simple code that just spits out what it receives. To save some time, I’ve done this so you don’t have to. Here’s what you’d receive via the event object passed to the Lambda function entry. Keep in mind that it’s a dictionary in Python.
Example content of the event object
event object{
"version": "2.0",
"routeKey": "$default",
"rawPath": "/api-test",
"rawQueryString": "taoky=strong",
"headers": {
"accept": "*/*",
"accept-encoding": "gzip",
"cdn-loop": "cloudflare",
"cf-connecting-ip": "2001:db8::1",
"cf-ipcountry": "XX",
"cf-pseudo-ipv4": "255.255.255.255",
"cf-ray": "8b8cca72b23e09a5-NRT",
"cf-request-id": "d2160d7f1100000738c5e62000000001",
"cf-visitor": "{\"scheme\":\"https\"}",
"content-length": "0",
"host": "api.example.com",
"user-agent": "curl/7.68.0",
"x-amzn-trace-id": "Root=1-8dab11ae-d63d4eec890259ddab5a7709",
"x-forwarded-for": "2001:db8::1, 162.158.118.243",
"x-forwarded-port": "443",
"x-forwarded-proto": "https",
"x-custom-header": "hello"
},
"queryStringParameters": {
"taoky": "strong"
},
"requestContext": {
"accountId": "166333366666",
"apiId": "nad73szpz7",
"domainName": "api.example.com",
"domainPrefix": "api",
"http": {
"method": "POST",
"path": "/api-test",
"protocol": "HTTP/1.1",
"sourceIp": " 162.158.118.243",
"userAgent": "curl/7.68.0"
},
"requestId": "ZcOQCw-WICLEQdg=",
"routeKey": "$default",
"stage": "$default",
"time": "20/Jan/2021:16:40:00 +0000",
"timeEpoch": 1611160800000
},
"body": "Cg==",
"isBase64Encoded": true
}
A few notes about the content:
isBase64Encodedrefers to thebodyitem. In the above example, the actual POST content is a single newline.bodymay be absent for requests that doesn’t send data, like a GET request.headersare all in lowercase which is in line with HTTP/2 specifications. It could be due to me placing my custom domain behind Cloudflare.
With that in mind, we can expand the boilerplate Lambda function:
def lambda_handler(event, context):
    route = event["rawPath"]
    if route == "/api-test":
        return {
            'statusCode': 200,
            'headers': {'Content-Type': 'application/json'},
            'body': json.dumps(event),
        }
    elif route == "/github-webhook":
        # TODO Write webhook receiver code
        pass
The actual webhook processing code shouldn’t be too difficult to write. For example, here’s an example of verifying GitHub via the HMAC signature:
import base64
import hashlib
import hmac
import os
secret = os.environ['MY_ENV_VAR']
signature = event['headers']['x-hub-signature'].split("=")[1]
body = event.get('body', "")
if event['isBase64Encoded']:
    body = base64.b64decode(body)

hashsum = hmac.new(secret, body, hashlib.sha1).hexdigest()
if hashsum != signature:
    return {
        'statusCode': 401,
        'body': "Bad signature",
    }

# Do whatever you want

return {
  'statusCode': 200,
  'body': "OK",
}
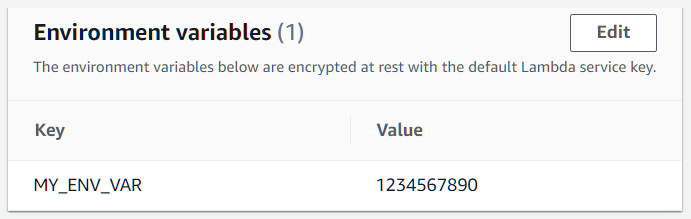
Adding environment variables
As shown in the example above, I put the webhook secret in an environment variable. We need to add it to our Lambda function before it could be used.
Doing so is straightforward. Head to Lambda console and select the function, then scroll down to Environment variables section, where you can manage variables for this Lambda function.
Customizing the webhook
Now we’ve got all the foundation established, we can do whatever we want with it. Here are some ideas that could try with:
- Connect to Slack and send a notification for every push or CI run result (the event is
check_run) - Connect to a Telegram bot and send a message to you for your subscribed events
- Start a Netlify or Vercel build or deployment
- Start GitHub Actions on another repository
- and many more possibilities…
Bonus: Adding a custom domain
Before calling this an article, there’s one more thing I’d like to cover. A custom domain is handy so that you’re in full control of your API, and fortunately AWS API Gateway does support this.
You may have already noticed the Custom Domain Names on the left pane of API Gateway console, so it’s time to pay that a visit.
The box on the left with a title Domain names is where we need to start from. Click the big Create button and enter your custom domain dedicated for AWS API Gateway, like api.example.com, and click the bridge red button on the bottom right to save the settings. You don’t have to change any other things there as the defaults just work.
Now you should see this screen:
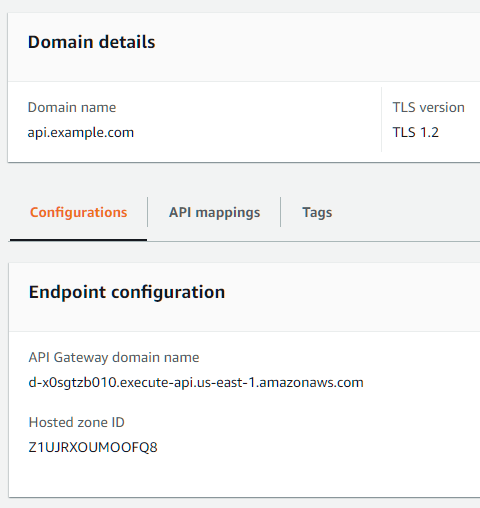
Head to your DNS provider and add a CNAME record for api.example.com pointing to the execute-api domain shown there. If you’re using Cloudflare, you can safely turn on the CDN setting (the orange cloud icon) to enjoy Cloudflare’s faster global network.
Next we’ll add “API mapping” for our custom domain. Select the API mapping tab in the center of the above image and click Configure API mappings on the right. Add a new mapping, select your API and the $default stage, and give it a subpath if you want, like shown below:
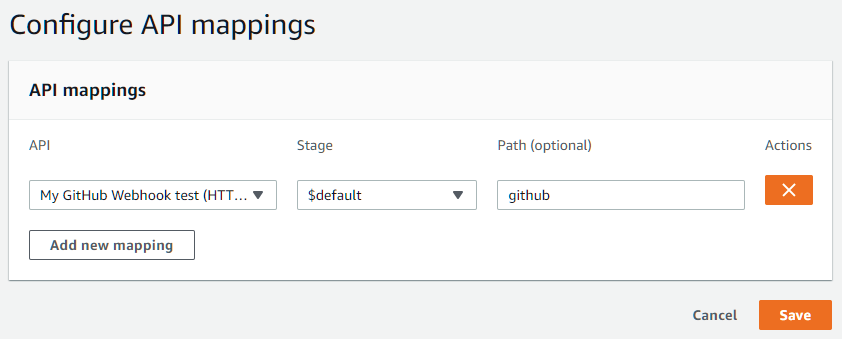
Don’t worry about your subpath
API Gateway will automatically strip the path before passing it to the Lambda function. This means if you set the path to /hello and visit https://api.example.com/hello/world, your Lambda function will still see the rawPath key being /world. You don’t have to change your code to adapt this part. Very convenient, isn’t it?
Now our GitHub webhook receiver will start with https://api.example.com/github, and our “API test” endpoint will be https://api.example.com/github/api-test.
You may need to configure AWS Certificate Manager to obtain a valid SSL certificate for use on AWS, so that your API is accessible through HTTPS, depending on your domain settings. With Cloudflare this is unnecessary and you can safely ignore it.
Other notes
AWS Lambda provides 400,000 GB-seconds of execution for free each month, and this Free Tier does not expire. However, AWS API Gateway doesn’t have a perpetual Free Tier offer, and their standard pricing is US$1 per 1M API calls. The cost on this part is generally low unless you’re making a public service (that becomes popular).
Besides, AWS provides 1 GB of free outbound traffic each month, and bills you at US$0.09 per GB thereafter. This means you’ll need to be careful when generating a lot of traffic, like frequently uploading large images.
All pricing examples are based on US East 1 (N. Virginia) region. Other regions are generally more expensive than this, so watch your bills if you make something big.

Leave a comment