The 3rd-and-last experiment of course Web Information Processing and Application required us to create a recommendation engine, and “predict” the rating (1-5 stars) for 4M user-item pairs based on the training data of 9M user-item pairs and a social network.
The interesting part is, all user and rating data are real, i.e. unmasked. This makes it possible to, instead of playing nicely by doing data analysis, crawl the target data directly, bypassing the aim of the experiment to learn about recommendation systems, which is exactly the way I chose and I’m going to describe in this article.
To make things challenging, the target website, Douban, has a moderate level of anti-spider techniques in place. This makes it impossible to just submit a truckload of requests hoping to retrieve all data desired, but more advanced technologies and cleverer tactics are mandatory before pulling it off.
Part 1: Scrapy and ScrapingHub
Previously I’ve done crawlers using requests + Beautiful Soup, but this time under suggestions from my roommate, I decided to try it out with Scrapy, a said-to-be-great web crawling framework.
Scrapy is a framework extremely easy to start with. I followed the guide on Scrapy’s website and wrote less than 30 lines of Python (commit), and the first version of my spider was ready to go.
It didn’t take too long before I picked up on Douban’s anti-spider techniques. My server’s IP was banned (fortunately, only temporarily) and all requests to Douban were getting 403 responses.
I fortuitously recalled that GitHub Student Pack provides an offer from ScrapingHub, the company behind Scrapy, containing one scraper unit, for free forever. Following their guide on deployment, I asked my teammate to modify my spider to adopt Scrapy’s project layout (commit), redeemed the Student Pack offer, and deployed my first scraper project onto ScrapingHub cloud.
ScrapingHub has forced AutoThrottle enabled for all jobs, so my first SH job survived for longer before it started receiving 403 responses. Looking at the stats, the job maintained its position for about 40 minutes, before signals of having its IP banned emerged. I updated the scraper a few times to include detections for more variations of indications of an IP ban, but never made it over an hour. And because I only attempted to avoid the IP ban by throttling and detecting, the actual “targets” contained in the code remained the same, which accounted for high duplication in crawled results in the first few runs, which in turn led to a quick drop in the increase of the submitted result (of this course experiment).
Recalling that I had spare promotional credits from AWS Educate, I came up with the idea of utilizing the large IP pool of AWS, which has another advantage of the ease to swap out a banned one.
Part 2: Expansion onto AWS, distributed crawling with centralized management
The high duplication rate of results from the first few runs on ScrapingHub was alarming: I knew that I wouldn’t make any real success if I didn’t build a centralized job dispatcher and data collector, so the first thing before moving onto AWS is to create a control center.
The central manager server
I picked my favorite quickstarter framework Flask, implemented three simple interfaces get job, update job and add result. To make things absolutely simple yet reliable, I picked SQLite as database backend because it’s easy to setup and query (sqlite3 CLI is ready for use). I designed a “job pool” with push-pop architecture, where each job record is a to-be-crawled URL, and is deleted from the pool once it’s requested. The spider then crawls the page, send results back to the control center, as well as the “Next Page” link in the page back into the job pool if there is one. It didn’t even take a lot of effort to work this out (code). The initial content in the “job pool” is Page 1 of all 20000 users, imported from experiment materials manually. A user is considered “done” if one of the pages in the chain doesn’t contain a “Next Page” link, meaning that the last page for this user has been reached.
Deployment is just as easy. I wrapped the server up in a Docker container, put it on my primary server on Amazon Lightsail (2 GB instance, has some other stuff running already), configured Nginx and added a DNS record on Cloudflare. Then I started the spider on my workstation and send a few initial requests, to test if everything proceeds as expected. After cleaning a few obvious bugs out of the code base, I started configuring a spider client.
Distributed crawler clients
Because I planned to spawn a large amount of clients, I want to lower their cost (I have only $100 credits and can’t spend overbudget), so I started off with t3.nano instances as they offered twice the CPU power and slightly less expense over the previous-generation t2.nano. Configuring the environment wasn’t any difficult, as all that was needed was a deploy key and dependency packages. The former can be generated locally and have the public part uploaded to GitHub before copying the private part onto the spider server, and the latter is as easy as running pip install.
To make further deployment easier, I created a systemd service for the spider job, and added git pull before starting, so I only need to restart all servers and they’d pull in latest changes automatically. This is the service file that I wrote for this job.
[Unit]
Description=Douban Spider
After=multi-user.target
StartLimitIntervalSec=0

[Service]
Type=simple
Restart=always
RestartSec=1
ExecStartPre=/usr/bin/git -C /root/douban-spider pull
ExecStart=/usr/local/bin/scrapy crawl doubanspider
WorkingDirectory=/root/douban-spider/
TimeoutSec=5

[Install]
WantedBy=multi-user.target
I ran systemctl daemon-reload to let systemd reload and be aware of my new service unit. I then started the spider with systemctl start spider.service and followed journalctl -ef to check if the spider is running properly. To make the spider start automatically on boot, I ran systemctl enable spider.service.
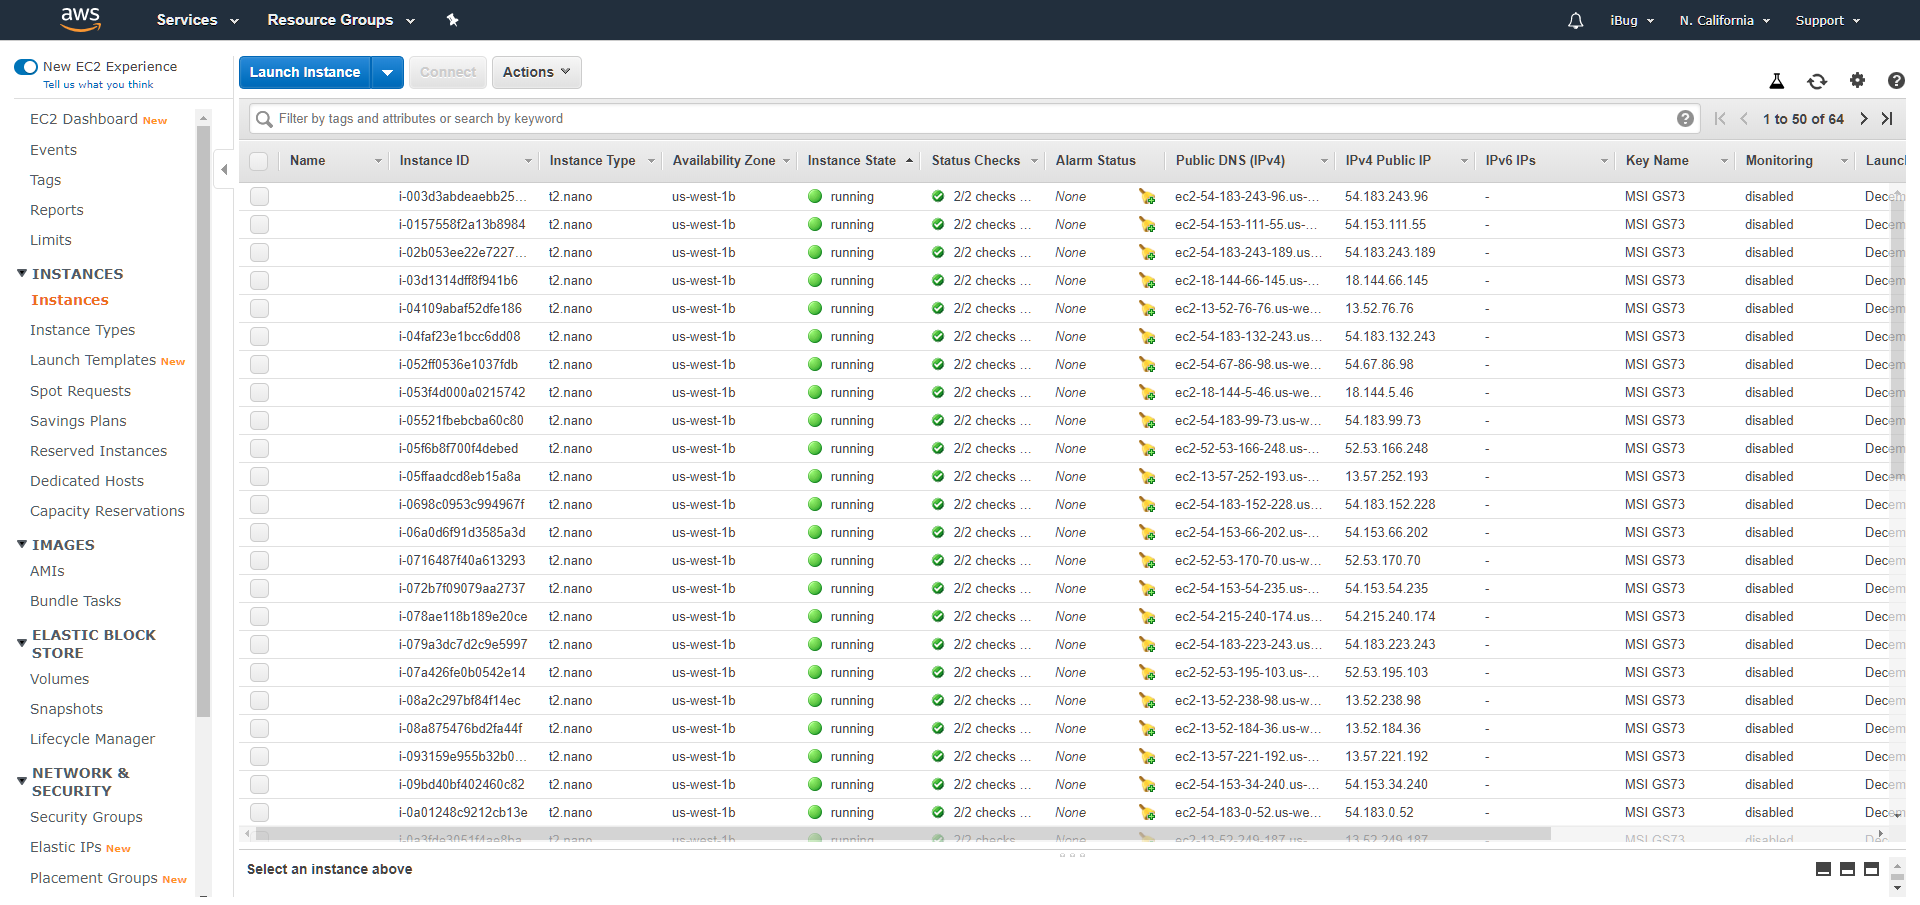
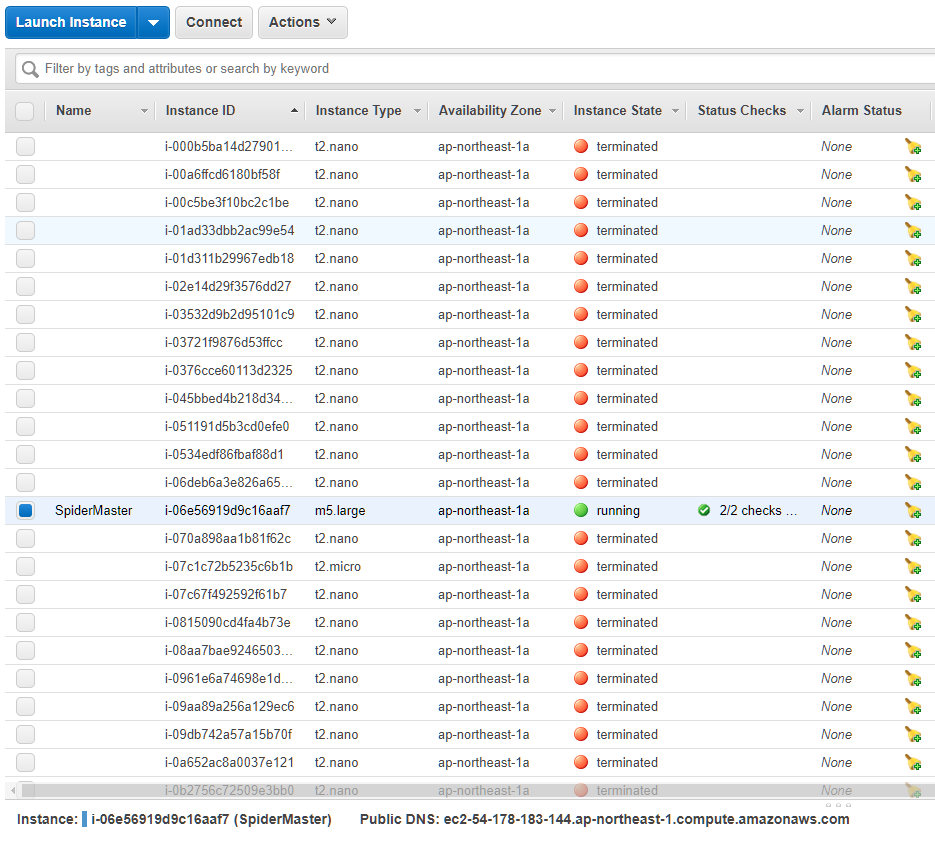
As I was going to work around Douban’s IP limitations, I let the spider shut down itself when it discovers the IP ban (commit). This way by looking at the number of running instances on EC2 dashboard, I can determine how many IPs have been banned, and can get new IPs by starting them up again (rebooting doesn’t change instance IP, must stop completely and then start again).
I then rebooted the server once, and checked again to be 100% sure that everything is working as expected. Confirming that, I shut down the server and took a snapshot of it.
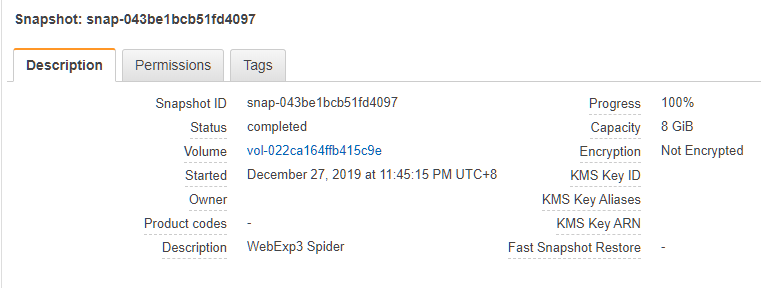
And as well, before launching new instances from this snapshot, an AMI (Amazon Machine Image) has to be registered based off of it, so I did one as well.
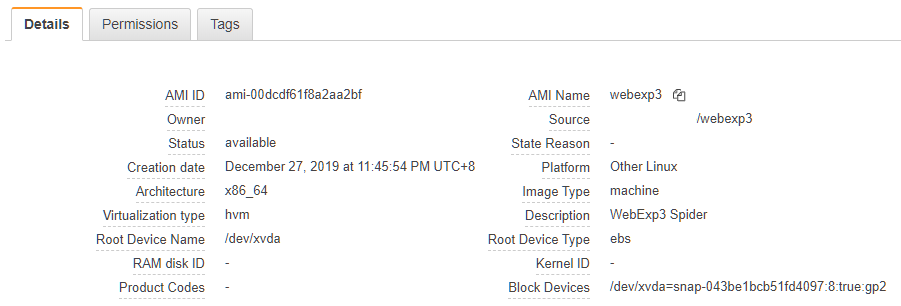
I Googled about AWS service limits, and acknowledged that there was a “20 instances per region” limit on EC2. So I attempted to create 20 t3.nano instances from the AMI, but was informed that the launch request would fail for exceeding another resource limit of 32 vCPUs. OK, that was fine, I decided to launch 12 instance first, and launch the remaining 8 with one vCPU disabled, resulting in a total of 32 vCPUs. Unfortunately it failed again for unknown reasons, though I managed to figure it out that disabled vCPUs still count, so I ended up creating t2.nano instances for the rest of them.
It wasn’t necessarily something bad, however, as T2 series of instances can burst to 100% CPU for 30 minutes after startup, which should cover most of its lifetime before it gets banned.
I have forgotten how I realized this, but the current actuality is that there’s no more “instance limit”, but only a limit on total vCPU count. This is still effectively a limit on the number of instances you can have simultaneously, though you get to keep less if you run multi-core instances.
My final setup was 32 t2.nano instances per region so as to maximize concurrency with maximum number of IPs available at once, while keeping cost low.
Results
As soon as I booted up my first batch of 32 t2.nano instances, I noticed an unexpected situation: The manager server is running at constant 100% CPU load. Because Lightsail instances are backed by EC2 T2 series, I knew it wouldn’t sustain for long before having its CPU throttled due to insufficient CPU credits. So I cut off two spider clients, and launched an m5.large instance for the control center.
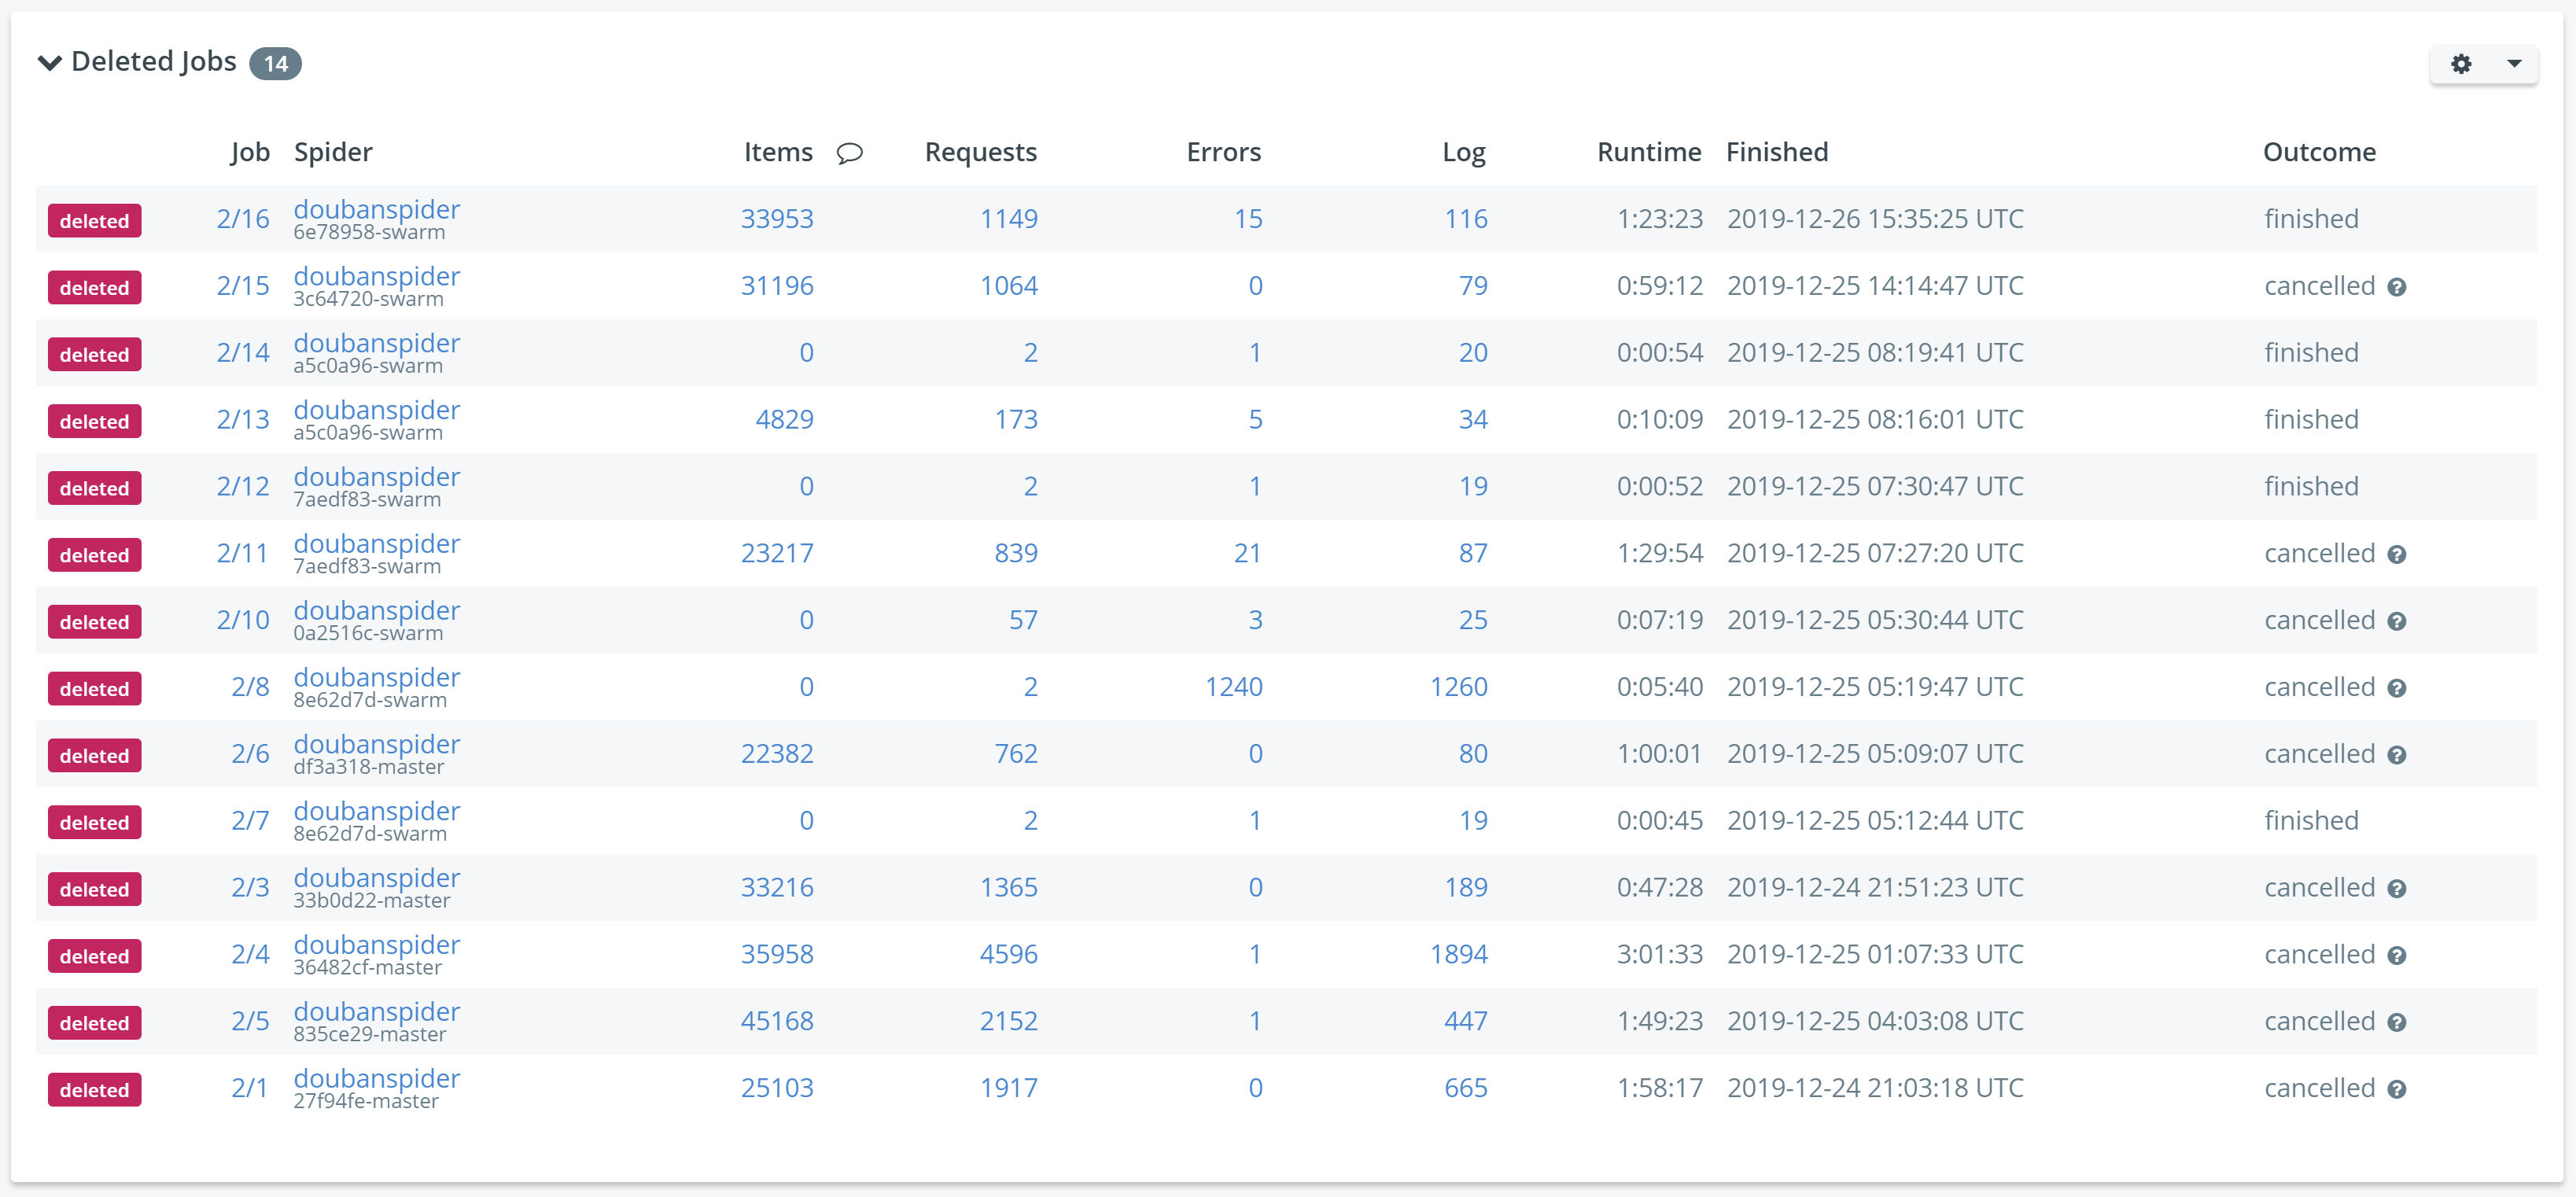
Things went on smoothly for a while, and before the job pool depleted, I could gather 500k to 600k results (up to 30 per page). I re-created the pool from scratch a few times, shuffled it each time, and restarted the whole spider swarm. Every time I “refreshed” the database, I could gather another 500k to 600k results, and things went strange in the same mysterious way. The problem was, I estimated that there’d be a total of 30M results, so 500k to 600k was really a small portion.
It’s still delighting that the crawled data from the first few attempts improved the RMSE of our submission from 1.341 to 1.308, though the urgency of a revolutionary refresh also emerged.
Part 3: Redesigned management architecture, fine-grained control, more robust and faster
The first version of the spider swarm was successful to an extent, but a highly-managed framework was cumbersome to further enhancements. I decided to identify the limitations and look for alternatives.
Limitations of the previous-generation spider swarm
- The first thing to emphasize is that Scrapy is too powerful and comprehensive to be flexible. I only want to make requests and get results as rapidly as possible.
- Scrapy manages almost everything for you, including concurrency control and speed limiting, which is pretty much unwanted when I need to have fine-grained control over them.
- Pool management was poor. “Jobs” can get lost if they aren’t sent back (pushed back) to the control center. This is most likely the primary cause for the quick depletion of the job pool after gathering ~500k results. (There was indeed a serious bug in the spider client, which I’ll talk about later on)
- Unacceptably high CPU usage from the server application, which needs a serious reform as well. Looking at the screen of
htop, I guess that a large portion of the usage is made by SQLite queries, as I was doing a high concurrency server application with millions of rows in the database. SQLite doesn’t suit this kind of workload, really.
These barriers ought to be overcome one by one, so I started this revolution from the spider client.
Ditching Scrapy and reverting to requests + BeautifulSoup4
Scrapy is an all-in-one comprehensive framework. You focus on extracting data from the fetched page, and Scrapy handles everything else for you. Unfortunately, this is a huge barrier for whoever wants to tune it in every aspect. It even handles 302 redirects, which takes quite some effort to disable. This is why I switched back to my original approach using requests to fetch content, and parse it with BeautifulSoup4. Paired with Python’s stock multithreading library, this new client easily achieved twice the speed of that of Scrapy. It’s surely possible to dig into Scrapy and tune it, but why waste that time and effort when it can be easily solved by switching away?
Previously when using Scrapy, I had to override its start_requests method to fetch jobs from the server, and because Scrapy handles concurrency, I could not control how frequently a client fetches jobs, which was, to be honest, messy. With requests and threading, I have full control over concurrency, and I can reliably decide or predict how many jobs should be fetched by a client before it “exhausts”.
Pre-computed job pool and MySQL
Another problem of the previous generation of my spider swarm was that rapid draining of the job pool always occurred too soon (after fetching ~500k records). This was actually a bug.
One bad bug led to the failure of the previous swarm
In my first few “durability tests”, I discovered that Douban would send either a 403 or a 302 response when it detects unusual traffic. The former was easy to detect, but with Scrapy, 302 redirects are handled automatically, and I spent more than half an hour Googling just to disable this behavior. With requests, this is as simple as supplying allow_redirect=False to the request method, which then enables the simplicity of checking the status code of the response.
The true failure was, Douban actually sends 200 responses occasionally, with the HTML body containing a single line of JavaScript that redirects to another page, with the browser’s information supplied. I didn’t realize this until I noticed that this second-generation swarm gradually stopped working completely, and SSH-ed into one of the spider servers, and checked the program log. Because I treated 200 responses as success, the spiders would only find that there was no data items and “Next Page” links in the returned page, and thinking that this “page chain” had been completed.
Pre-computed job pool
Detecting this “new” kind of unwanted response was not hard, but it must be done. But the good thing is, I ditched the “pop-push” job pool design as well. This time I first ran a small bunch of spiders to crawl the Page 1 for all 20000 Douban users, extracted the total number of items from those pages, and computed the number of pages for each user, storing them into the database as the new job pool. No more jobs would be removed from the database, only marked as completed. This way I could easily discover failed jobs and re-enable them by flipping the “completed” flag manually by editing the database.
An RDBMS that scales
The 1st-gen control center used SQLite as its database engine. SQLite is a lightweight, easy-to-start database. The problem is, it’s a single-file DB engine, and doesn’t scale. I had millions of rows in the results table, and a large portion of responses when I try to query it using the sqlite3 CLI utility (for analysis purposes) are “Error: database is locked”. The database also grows terribly, at more than 400 MB in size. Due to being constantly written to, I could even hardly make a copy of it without corruption. I had to do a cp command for 10 times before I could have an intact copy of the database for copying back to my computer for future analysis.
SQLite isn’t the right tool for millions of records, really.
MySQL is a better database engine that’s widely used in production, and I have some experiences with it, so it became an apparent option to switch to it. As Debian provides MariaDB as the replacement for MySQL, installation was straightforward. I the modified the code to adopt the new database.
A few points to note:
- Debian and its derivatives (including Ubuntu) uses the PyPI package
mysqlclientto provide the packagepython3-mysqldb. It’s compatible with the now-abandonedMySQLdbpackage. Any code written forMySQLdbshould remain unchanged, because even the import line remains asimport MySQLdbinstead ofimport mysqlclient(the latter will throw anImportErrorfor not finding the module). - The MySQL uses a connection-cursor architecture, so instead of calling
db.executeanddb.fetch*methods directly (as is the case with Python’s stock SQLite library), a cursor must be created first, and thencursor.executeandcursor.fetch*methods will be available. Similarly, cursors need separate closing than the DB connection itself. -
The painful thing is that SQLite uses the question mark
?as placeholder for query data (NEVER join database queries), while MySQL uses%s. Compare the following code:SQLite: INSERT INTO records (user, item, rating) VALUES (?, ?, ?); MySQL: INSERT INTO records (user, item, rating) VALUES (%s, %s, %s);It was somewhat frustrating to hunt for all those question marks and replacing them with
%s’s when you can’t use text-based find-and-replace. Still, though, I managed to get this work done.
Continuous refresh of banned IPs
As this time I made some changes to increase the aggregate crawl speed, it could be anticipated that IPs would be banned sooner than in the first generation, which rendered IP refreshing more important. I had already known that AWS provided an extensive REST API, as well as a powerful CLI utility aws.
I didn’t even need to install the aws CLI utility because it comes preinstalled on every AMI, so all that was needed was to create an IAM user and generate API credentials following the AWS official documentation.
After figuring out all functionalities that I needed, I created a “runner script” that does everything automatically.
#!/bin/bash

case "$1" in
  1) REGION='ap-northeast-1';;
  2) REGION='ap-southeast-1';;
  3) REGION='us-west-2';;
  4) REGION='us-west-1';;
  *) exit 1;;
esac

case "$2" in
  1) ACTION='stop-instances';;
  2) ACTION='start-instances';;
  *) exit 1;;
esac

INSTANCES="$(aws --output text --region "$REGION" ec2 describe-instances --filters "Name=instance-type,Values=t2.nano" --query "Reservations[].Instances[].InstanceId" | tr '[:space:]' ' ')"
echo "Instances: $INSTANCES"

if grep -qiP 'i-0[0-9a-f]+' <<< "$INSTANCES"; then
  echo "Running $ACTION on $REGION"
  aws --output json --region "$REGION" ec2 "$ACTION" --instance-ids $INSTANCES
fi
The above script will attempt to list all spider instances (all of them are t2.nano), and depending on arguments, try to stop them and start them back up so they have new IPs to start with.
I then created a cron job that restarts each batch every hour, which looks like this:
0,1 * * * * /root/job.sh 1 1
2,3 * * * * /root/job.sh 1 2
15,16 * * * * /root/job.sh 2 1
17,18 * * * * /root/job.sh 2 2
30,31 * * * * /root/job.sh 3 1
32,33 * * * * /root/job.sh 3 2
45,46 * * * * /root/job.sh 4 1
47,48 * * * * /root/job.sh 4 2
This way a batch of instances will get new IPs every hour, effectively bypassing Douban’s IP limitations, which is another key to the success of the 2nd-gen spider swarm.
Results
With everything set up, I packed up a new AMI for the spider client, copied the AMI to 3 other AWS regions, and launched as many instances as possible, giving a total of 126 spider clients running simultaneously.
This new spider swarm achieved almost twice the speed of the old version, at a sustained rate of around 1,700 records per second, when the old version could only maintain a burst speed of 900 records per second, before quickly dropping to 500 records per second. What’s more satisfactory was that it was fault-tolerant, finally crawling 20.7M records (out of a total of 21.6M) before completely stopped working after around 12 hours.
The crawled data covered more than 90% of the test set of the experiment, and boosted the RMSE value of our submission from 1.304 to a whopping 0.546. We managed to make it one step further to 0.539 by adding the crawled data to our training set. For the record, the 2nd place, who also played with web spiders, only managed to get the RMSE value to 0.87. This is a great success.
On a side note, you probably shouldn’t attempt this if you don’t have credits on AWS. This 3-day journey through AWS with a spider swarm cost me an astonishing amount of US$44.96, with more than $30 spent on EC2 and more than $10 spent on traffic (AWS charges for traffic beyond 1 GB). Fortunately, I have them all covered by my remaining credits from AWS Educate, making this whole crawler project an enjoyable experience.
Gallery


Leave a comment