A quick step-by-step guide for those wanting to get in touch with Ubuntu in a virtual machine with minimal effort. For example, at the start of a semester of Operating System Concepts course.
There’s a Chinese version of this article!
0. Preparation
Since we’re going to install a Linux distro with a desktop environment, 2 GB of guest memory is recommended, and as a consequence, you would want to ensure that your host machine has 6 GB or more RAM. If your machine doesn’t have that much RAM, there are alternatives that you can try out:
- Set up an Xubuntu instead, which can run with as little as 1 GB of guest memory.
- Set up a Ubuntu Server VM, which can run with as little as 512 MB of guest memory.
Download VMware Workstation for Windows or Linux, or download VMware Fusion for macOS. You’ll need a key to license your VMware software (hint: try Google for it and you’ll find a lot).
Get the latest Ubuntu LTS image from ubuntu.com, or from a mirror site at your option. If you go to a mirror site, make sure you’re downloading the file ubuntu-{version}-desktop-amd64.iso, where {version} is the version number, e.g. 18.04.
1. Setting up VMware Workstation (Windows)
Open your downloaded VMware Workstation installer (in .exe format). You need Administrator privileges to continue
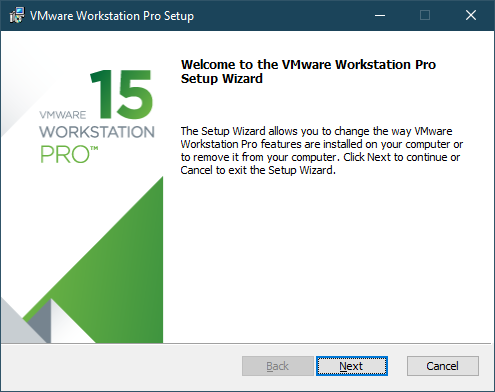
Continue with Next and select an option to continue. For most people, you can safely proceed with Typical. Follow the guide to finish installation of VMware Workstation.
Reboot your Windows machine after installing VMware Workstation – some components need a reboot before working properly.
You should now see a shortcut on your desktop like this:
Double-click on it, accept the End User License Agreement (EULA) and enter your license key when it’s asked for.
If you see this screen, it means you’ve successfully installed VMware Workstation on your machine.

2. Creating a Virtual Machine for Ubuntu
As shown in the image above, there are three big buttons on the home page. Isn’t the first one tempting to click? Yes, just go for it, and you’ll be presented with this «New Virtual Machine Wizard»:
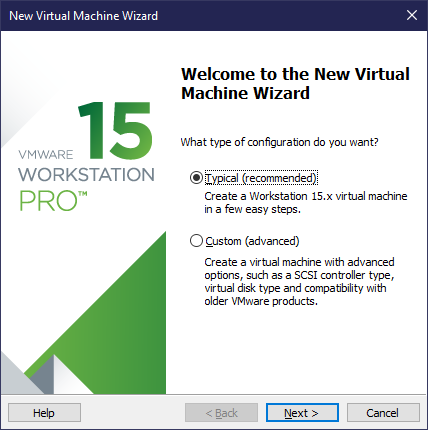
Again for most people, Typical (recommended) is as labelled – the recommended option.
In the next screen, select Installer disc image file (iso) and locate the Ubuntu image (in .iso format) you downloaded earlier. VMware Workstation should detect that it’s Ubuntu and inform you that it will use Easy Install for the operating system.

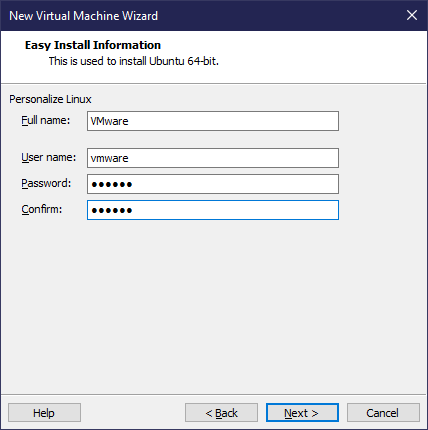
After clicking Next, you can enter the name of the virtual machine in Full name field, and give your favorite username and an easy-to-memorize password. Here I use vmware for all fields, including passwords, as a weak password in an isolated virtual machine won’t impose a big security issue.
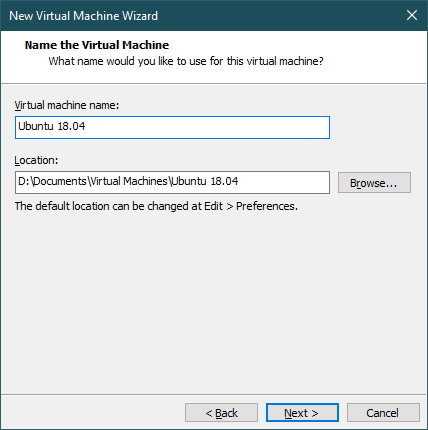
In the next screen, give your virtual machine a name, and specify a storage location. For most people, you may want to move the location out of C:\ for performance concerns (or, locate it inside your home directory if you’re on Linux; for Mac users, the default location is fine). In the image shown below, I put it in drive D on my machine, and just named it Ubuntu 18.04.
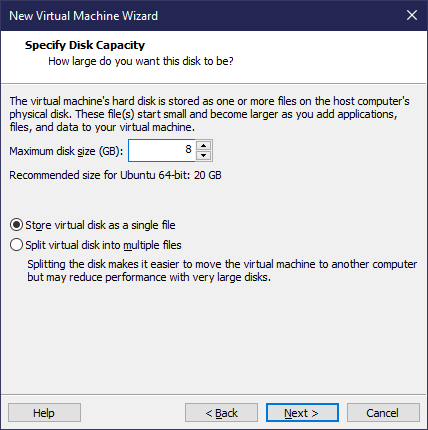
Then, create a virtual disk for the virtual machine. Despite what VMware suggests, 16 GB should be enough for most people on their first contact with Ubuntu. I went for 8 GB – I’m confident that’s enough for me. Select Store virtual disk as a single file for better performance. Trust your disk drive and the filesystem’s ability in handling large files this time.
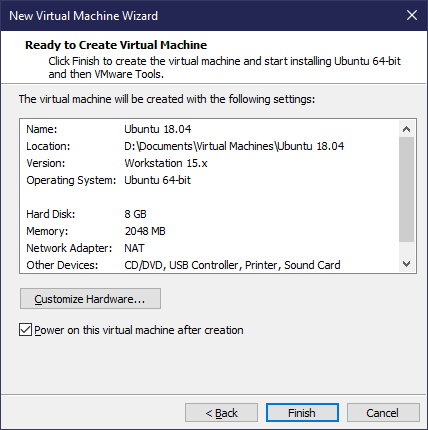
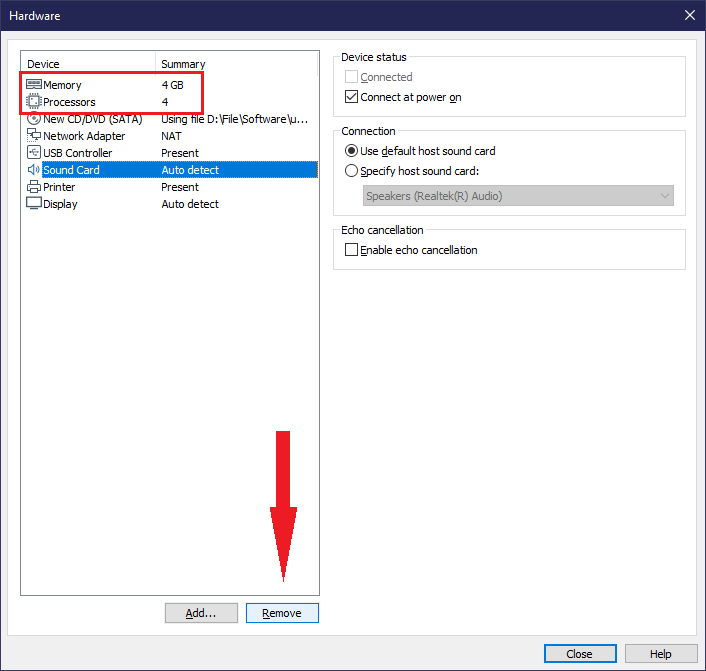
That’s all options you need to specify. Check the summary and click Finish. You can also customize the hardware specifications if you want, for example, delete the printer and the sound card if you don’t want them, or increase the RAM and # of CPU cores if your machine is beefy and has spare resources.
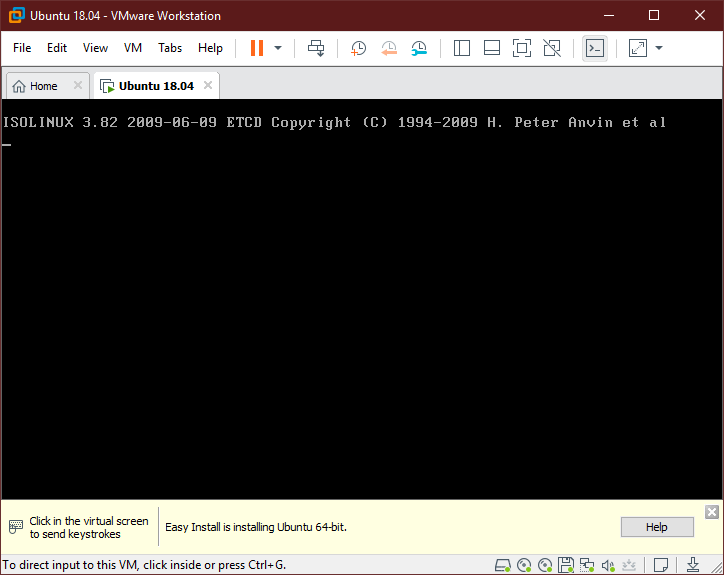
After closing the prompt, the virtual machine should power up automatically, provided you didn’t uncheck the last tick in the prompt. Here’s what it looks like when it first powers up.
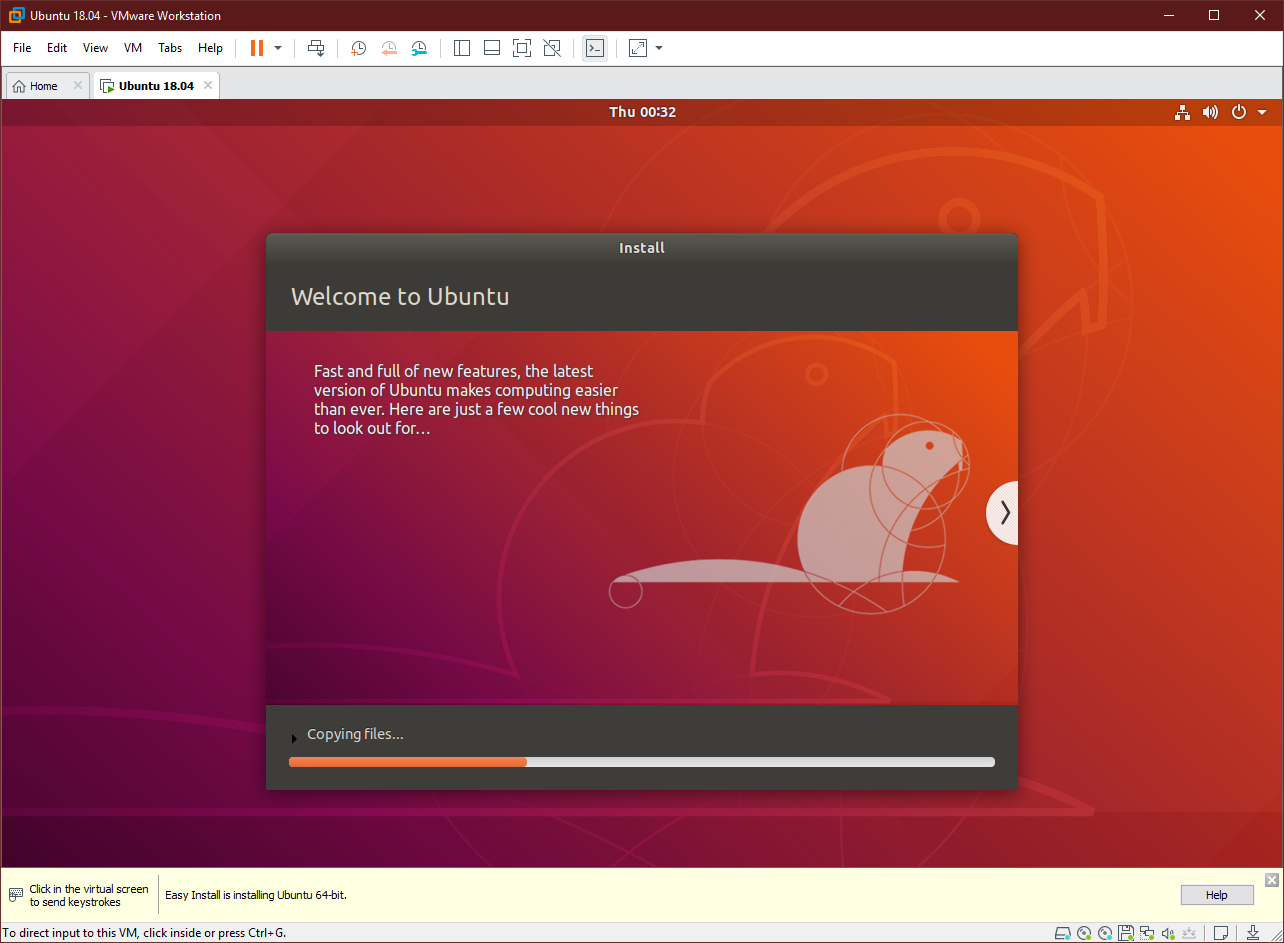
Then, as told before, installation of the Ubuntu OS inside the virtual machine should begin automatically with VMware’s Easy Install feature. You can see the setup screen of Ubuntu like this:
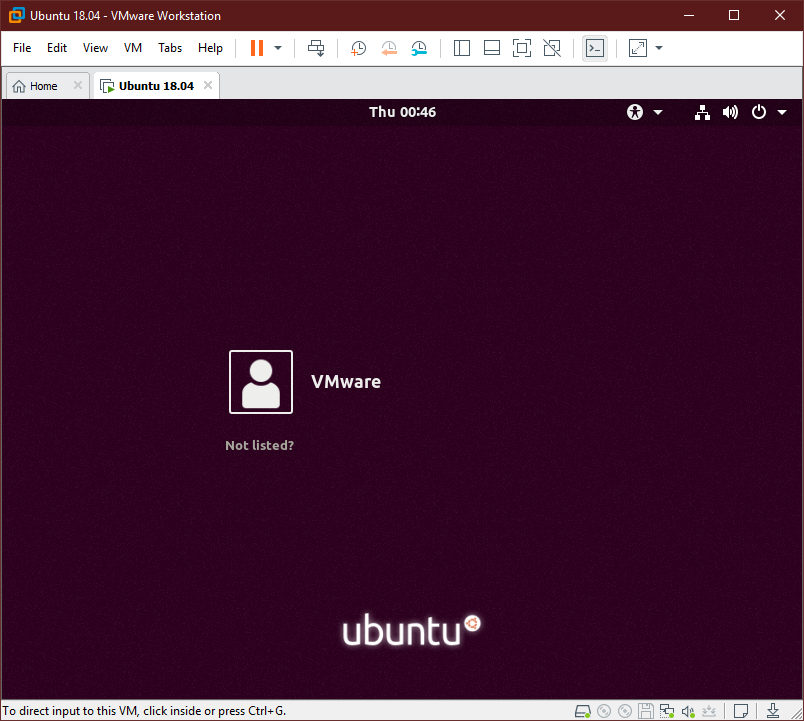
Shortly afterwards, it should reboot automatically. The first boot may be a bit slower than you may expect, as there are additional things to be set up then. Soon you’ll be presented with the login screen of Ubuntu, and enter your password to see the desktop.
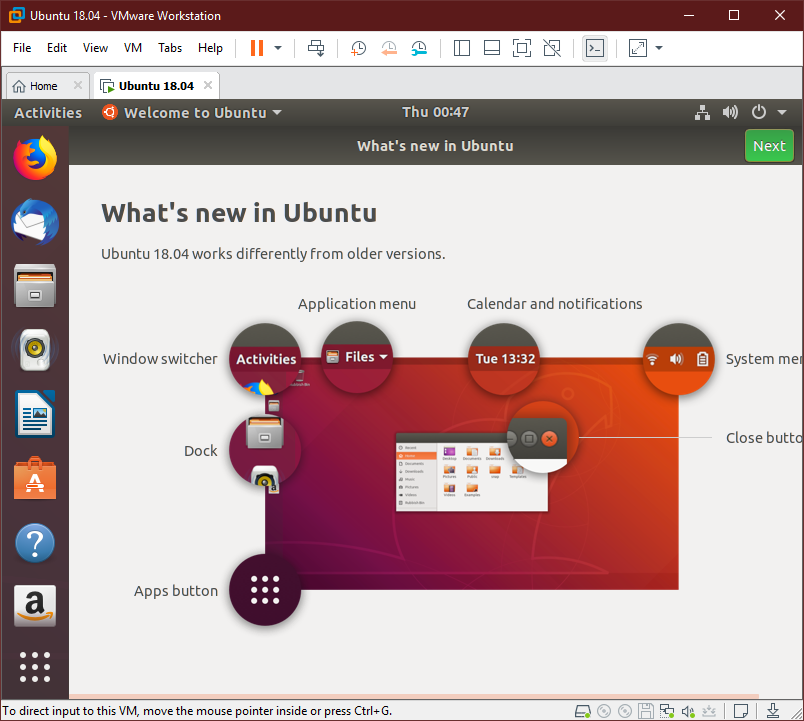
On the first start, you’ll see What’s new in Ubuntu. For the sake of curiosity, you can skim it through. Nothing quite important here.
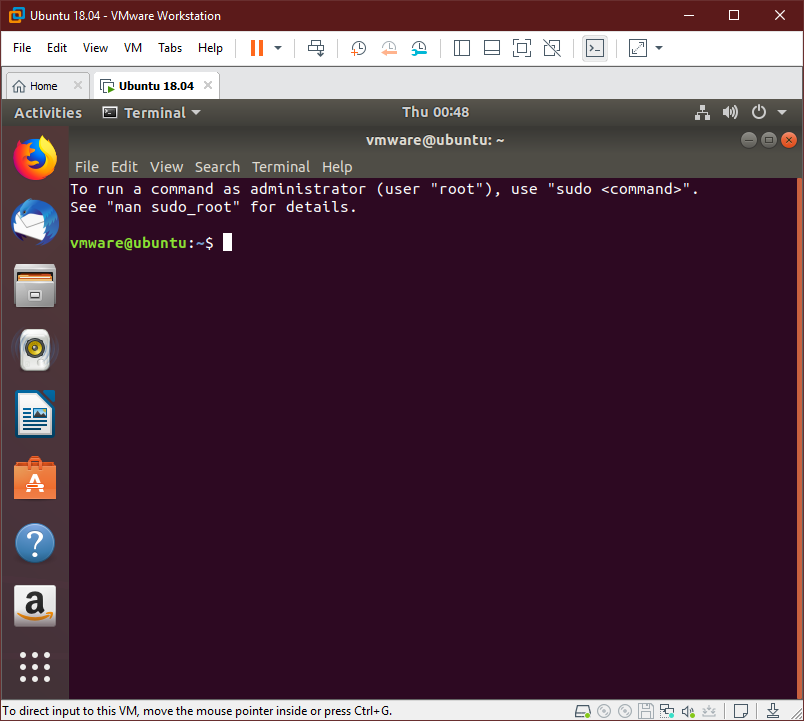
If you need to open a terminal for shell commanding, just hit Ctrl + Alt + T.


Leave a comment