This November I found a discount from one of my favorite VPS providers, NETfront. They offered Linux VPS with 2 vCPUs and 2 GB RAM at HK$56/mo, and also Windows VPS with 4 vCPUs and 4 GB RAM at HK$49/mo. Looks strange, right? Why buy the crappy Linux VPS when you can have a better configuration with less money (if possible)?
Note: I knew this VPS provider ran Proxmox VE because I already had their VPSs. They’d give you a Proxmox VE noVNC console when you click “Console” to manage your VPS, from which you know they’re using QEMU/KVM as their virtualization platform. Direct access to QEMU screen is awesome!
Get a VPS
First I head to the shopping cart to order a Windows VPS.
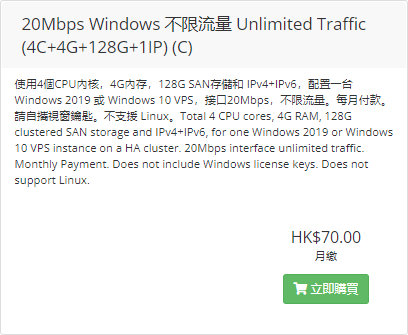
Nice offer. It comes with unlimited traffic rate limited to 20 Mbps (BTW, it’s full duplex using Proxmox VE’s built-in “Rate Limit” feature for QEMU/KVM). I complete an order and get to create a VM for this service.
Completely expected, only Windows images are available for choosing.
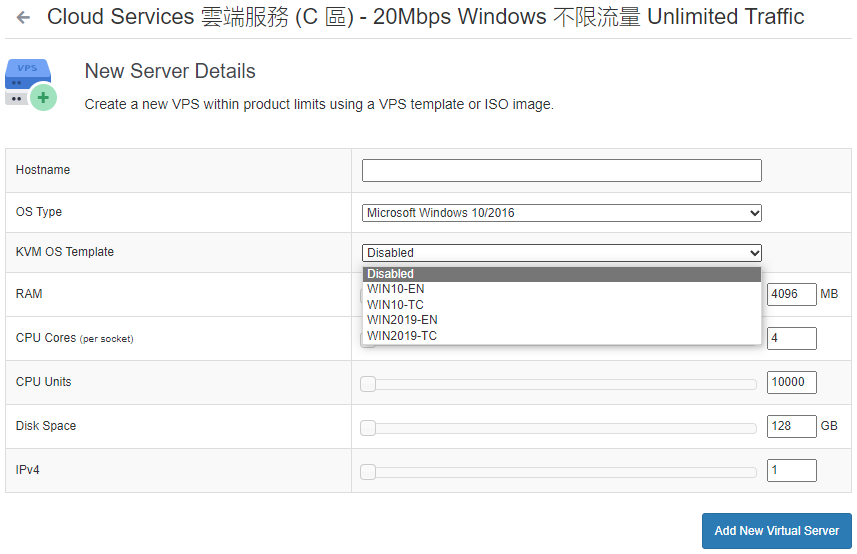
That doesn’t matter, since I’m prepared to bypass the provided VM images and set it up on my own, so I picked Disabled for KVM OS Template. Hopefully it’ll speed up the VM creation process a bit, which, well, wouldn’t matter after all 😊.
The next part involves a bit of patient waiting. The VM creation took quite a few minutes, perhaps to reserve that 128 GB of HDD? It would probably make sense to wipe the reserved area lest any previous data be left behind, which is a good practice in terms of security. Whatever, now the new VPS is ready, and I can see some basic information about it. I take down the IP address because later in iPXE environment I need to configure it as a static IP address.
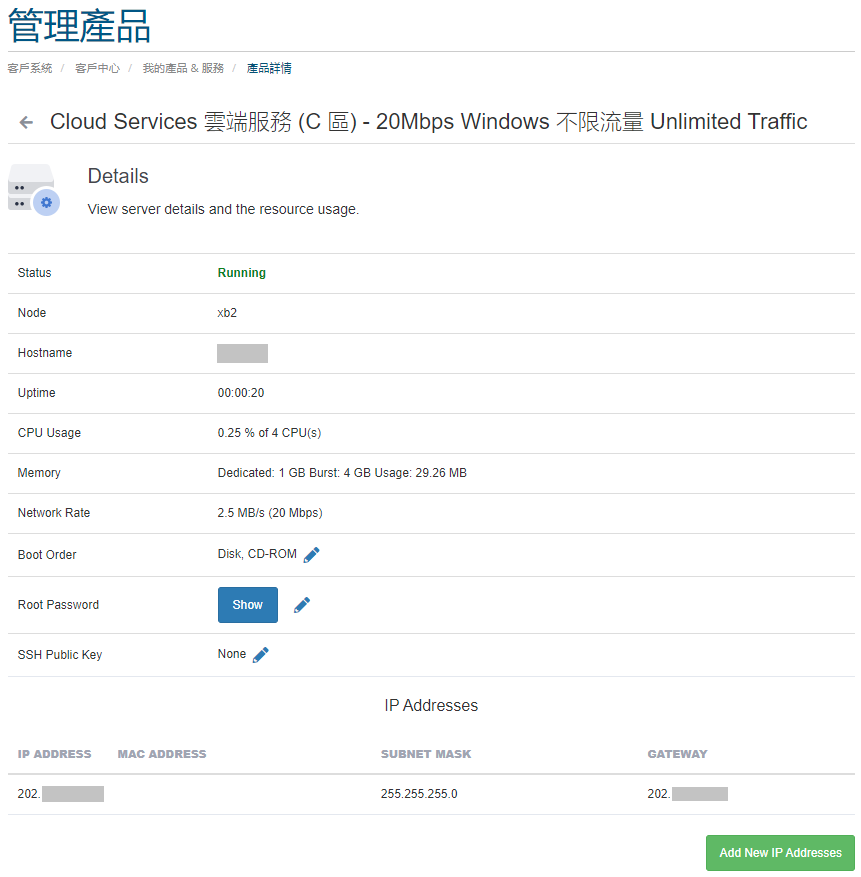
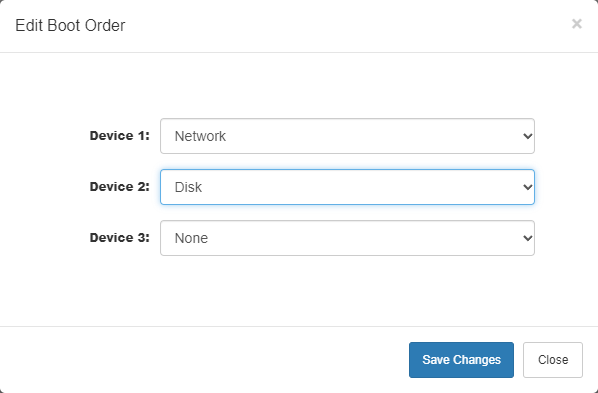
Because I did not choose an OS template for the VPS, it must boot from network (which is true even if I did take a template).
Now it’s time to start working!
Network booting with iPXE
iPXE is an open-source PXE (network boot) firmware, and is built into QEMU, ready for use.
I open up the noVNC console and start the VPS. When I see “Press ESC for Boot Menu”, I go for it for the iPXE menu.
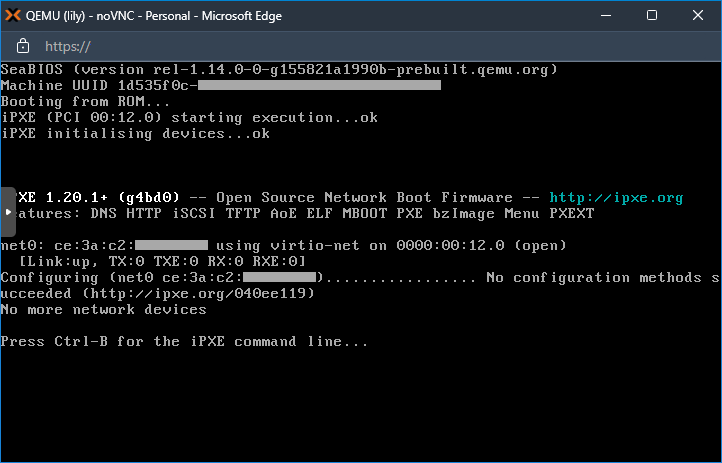
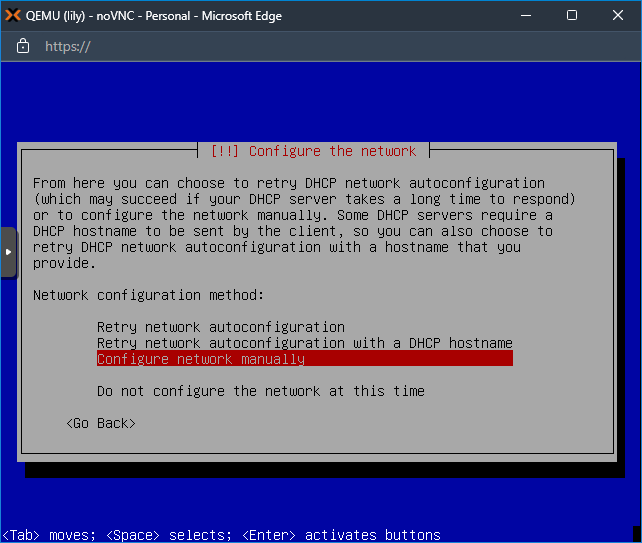
iPXE tries to configure network automatically using DHCP, but since the VPS environment does not have DHCP, I have to manually configure the network.
Now it’s time to load some boot source. Netboot.xyz is the first Google result for “public pxe boot server”, so I’ll trust it for good.
Trap
I previously got trapped following its quick start guide. It didn’t boot for me and just dropped network connection mid-way. Turns out the Boot using iPXE guide is the one I should follow.
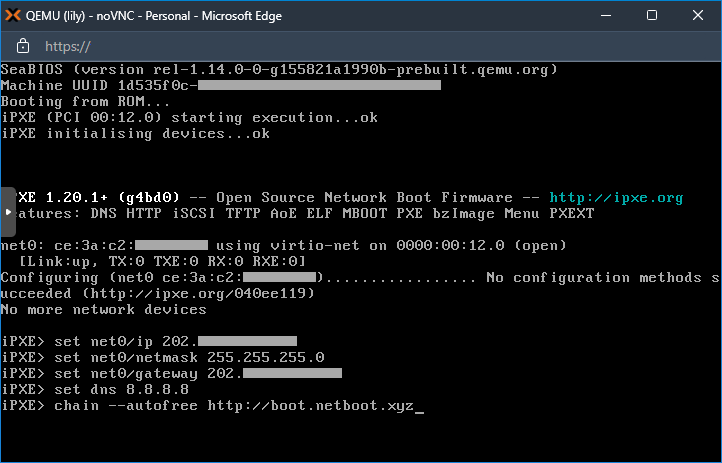
According to Netboot.xyz documentation, the only command needed after network is up is chain. Noting that the iPXE firmware built into QEMU does not support HTTPS, I use plaintext HTTP instead. The final commands used in iPXE environment are here:
set net0/ip 192.0.2.2           # Replace with your IP address
set net0/netmask 255.255.255.0  # Replace as needed
set net0/gateway 192.0.2.1      # Replace with your gateway address
set dns 8.8.8.8
ifopen net0
chain --autofree http://boot.netboot.xyz
Within a few seconds, I see the OS selection screen.
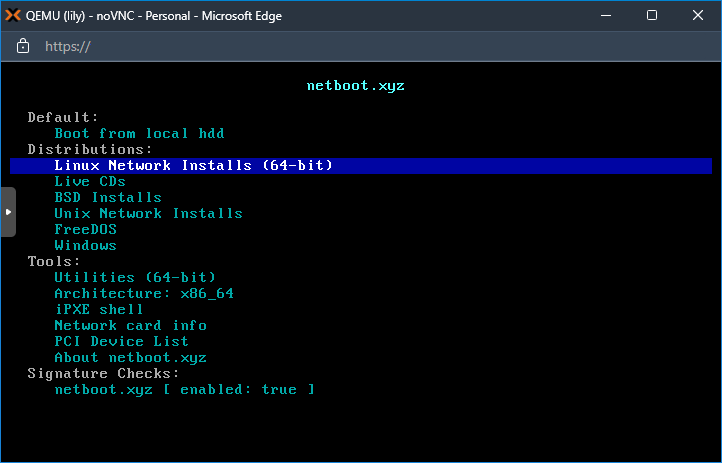
Debian has always been my #1 choice for servers, no reason to miss it. Select Linux Network Installs and look for Debian Bullseye.
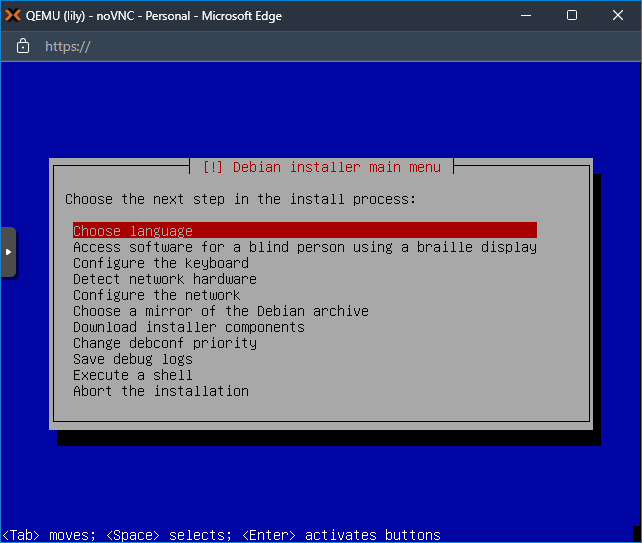
Now I’m halfway to success as Debian installer shows up. There’s still a small note: the Debian installer doesn’t “inherit” network settings from the iPXE firmware, so it must be configured again for Debian. The auto configuration attempt will fail and Debian will prompt for manual configuration. Not any difficult.
Now it’s time to wipe Windows (where’s Windows?) and install Linux!
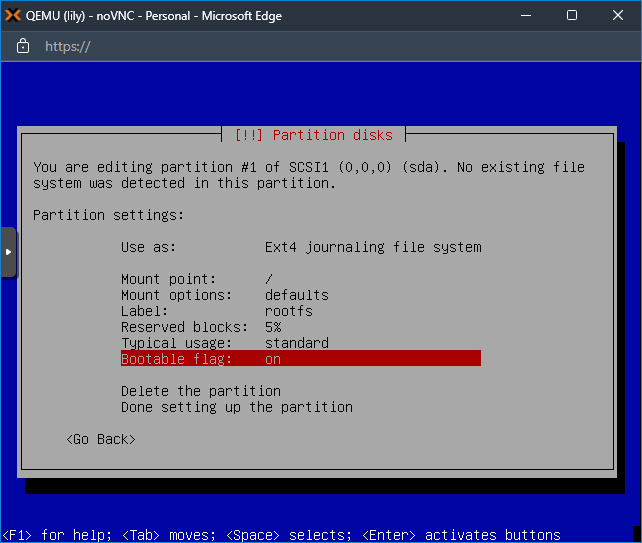
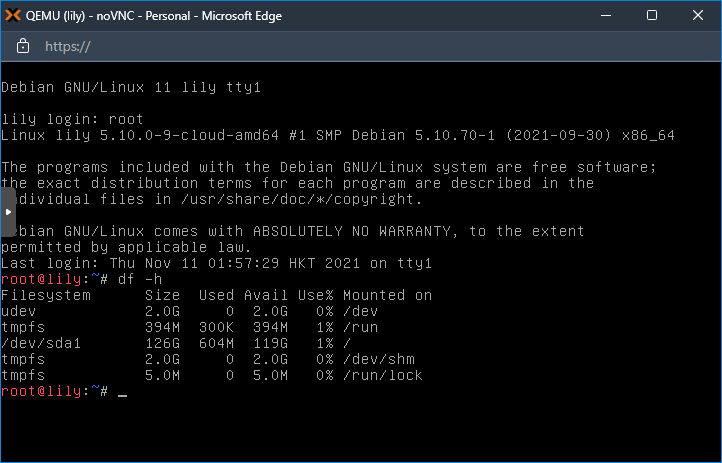
Select deb.debian.org as package source since this is a Hong Kong VPS and not a mainland China one, and proceed through the rest of the process. After a reboot, I can see the login screen of the newly installed OS. Hooray!

If I replace linux-image-amd64 with linux-image-cloud-amd64, I can free up some 100 MB disk space than the default setup:
That’s it. With just some small efforts, this is now an afforable, high-spec Linux VPS.
While the VPS control panel would never offer Linux templates should anything go wrong, it’s always possible to boot from iPXE again for a “rescue environment”.
Easter Egg
During Debian installation, the installer automatically added the hyperv-daemon package after examining hardware. After booting into Debian, systemd-detect-virt reports “microsoft” (i.e. Windows Hyper-V). This VPS hosting provider may have some black magic with their Windows VPS cluster so that QEMU/KVM behaves so. This issue doesn’t seem to exist in their “native” Linux VPS, but it’s worth noting.


Leave a comment